Showing posts with label Super Saturday Crafts. Show all posts

Saturday, March 3, 2012

Clothspin Photo Stands

You can buy these clothspins in 6" - 12".  Then just mod podge scrapbook paper and add flowers, ribbon and jems.  They make great gifts and are very inexpensive.  The website I use to order the clothspins is www.woodcrafter.com


Thursday, April 14, 2011

Transparency Pictures

I love, love, love this craft.  It is so, so, so easy and so, so, so cute!

Okay here are the steps, so try to keep up (Kidding! Because, it's super easy!). 
Get a transparency (you can buy them for $0.40each at your local office supply store in the copy department).  Type up a song or saying; i.e. "You Are My Sunshine", "I Am A Child of God", The Family Proclamation, The Living Christ, "I Love To See the Temple", "Head, Shoulders, Knees and Toes".  Put the transparency in your printer, hit the print button and let dry!

Because you will be printing an 81/2 x 11 and frames are 8x10 you will have to cut the transparency (after you print it) to fit the opening, you can also make them smaller to fit 5x7.

I have ALL of the above songs and sayings and I am more than happy to send them to you via email, so email me at attirealterations@gmail.com!

Clothespin Photo Stand

I think my motto has become "I should have taken a picture of that!"

I made a ton of these for some friends and didn't take a single picture, but here is the one that I have sitting in my office, so please keep in mind that there are so many cute things you can do with these, and this is only one idea.

For the record, I got this idea from a friend, and now I see them everywhere.
I found the wood clothespins online through a company that sells them for $0.84 if you buy them 10 at a time.  The shipping is also about $10, but if you buy 30 the shipping is only $12, so buy them in bulk to get the best price (which is still a lot cheaper than the craft and fabric stores).
Mod Podge the clothespin, let it dry, then mod podge the paper, and let that dry.  Then add whatever embellishments you would like and I used mod podge to add those as well!

You can use it as a gift card holder, or make them for baby shower gifts, or if you are giving someone a "Thank You" card, etc. put the card in the clothespin!  A very fun way to add a little touch of flair!

Etched Glasses

I love my new glasses! 
 I just bought a super inexpensive set of glasses at the store ($6 for 12) and etched my circle pattern onto them.  I used good ole' contact paper that I had lying around the house and I punched two different size circles out of 6x3inch strips, then stuck the contact paper onto a clean glass, filled in any holes with scotch tape and applied the Etching Cream.  The Etching Cream is tricky to work with and very dangerous if it gets in contact with your skin so make sure you read the directions VERY carefully, wear gloves and don't work on this project while your kids are up and running around.  I worked on my glasses at night when the kiddos were in bed and I didn't have any disractions.  It took me a couple of nights to finish them, because I would only work on a few glasses at a time to make sure I got just the right look I wanted.

Cording Napkin Rings

A friend of mine makes bracelets out of cording and I took a picture of them and showed it to my husband and he thought that they were napkin rings, and I thought "what a good idea!".  So voila!  Here are my cording napkin rings.

You tear, literally, strips of 1/2" wide fabric and sew them end to end.  Then you take 14" of cording, found in the Home Decor section of the fabric store,  wrap one end of your fabric to one end of the cording and stitch it in place then wrap the fabric around the cording until you get to the end and stitch the fabric into place at the end.  Wrap your cording around a spool of thread, or a dowel (1 1/4") and use sewing pins to pin it into place.  Hand stitch with longer needle through all of the layers of cording (you should have 3 rings of cording with 4 pieces to sew through where the ends meet up).  I sew through 5 different spots evenly spread out.  Then slide the napkin ring off of the dowel and your done!

I will be adding pictures to the step by step instructions in the next few weeks, but if you have any questions you can email me at attirealterations@gmail.com

Burlap Tiles


 I have my post about the Burlap Signs, well here is the same concept but on tiles.  The top picture is of a 12x12 tile and I didn't have any scrapbook paper on hand that was what I was looking for, so I used fabric.  I lightly mod podged the fabric (don't use too much or it will change the color of the fabric) onto the tile.  Total cost (not including stand) $3.50

This bottom picture is of a 6x6 tile with scrapbook paper, which was so much easier because you just apply the mod podge as you would with any other paper project. 
Total cost (not including stand) $2.00

Tuesday, April 5, 2011

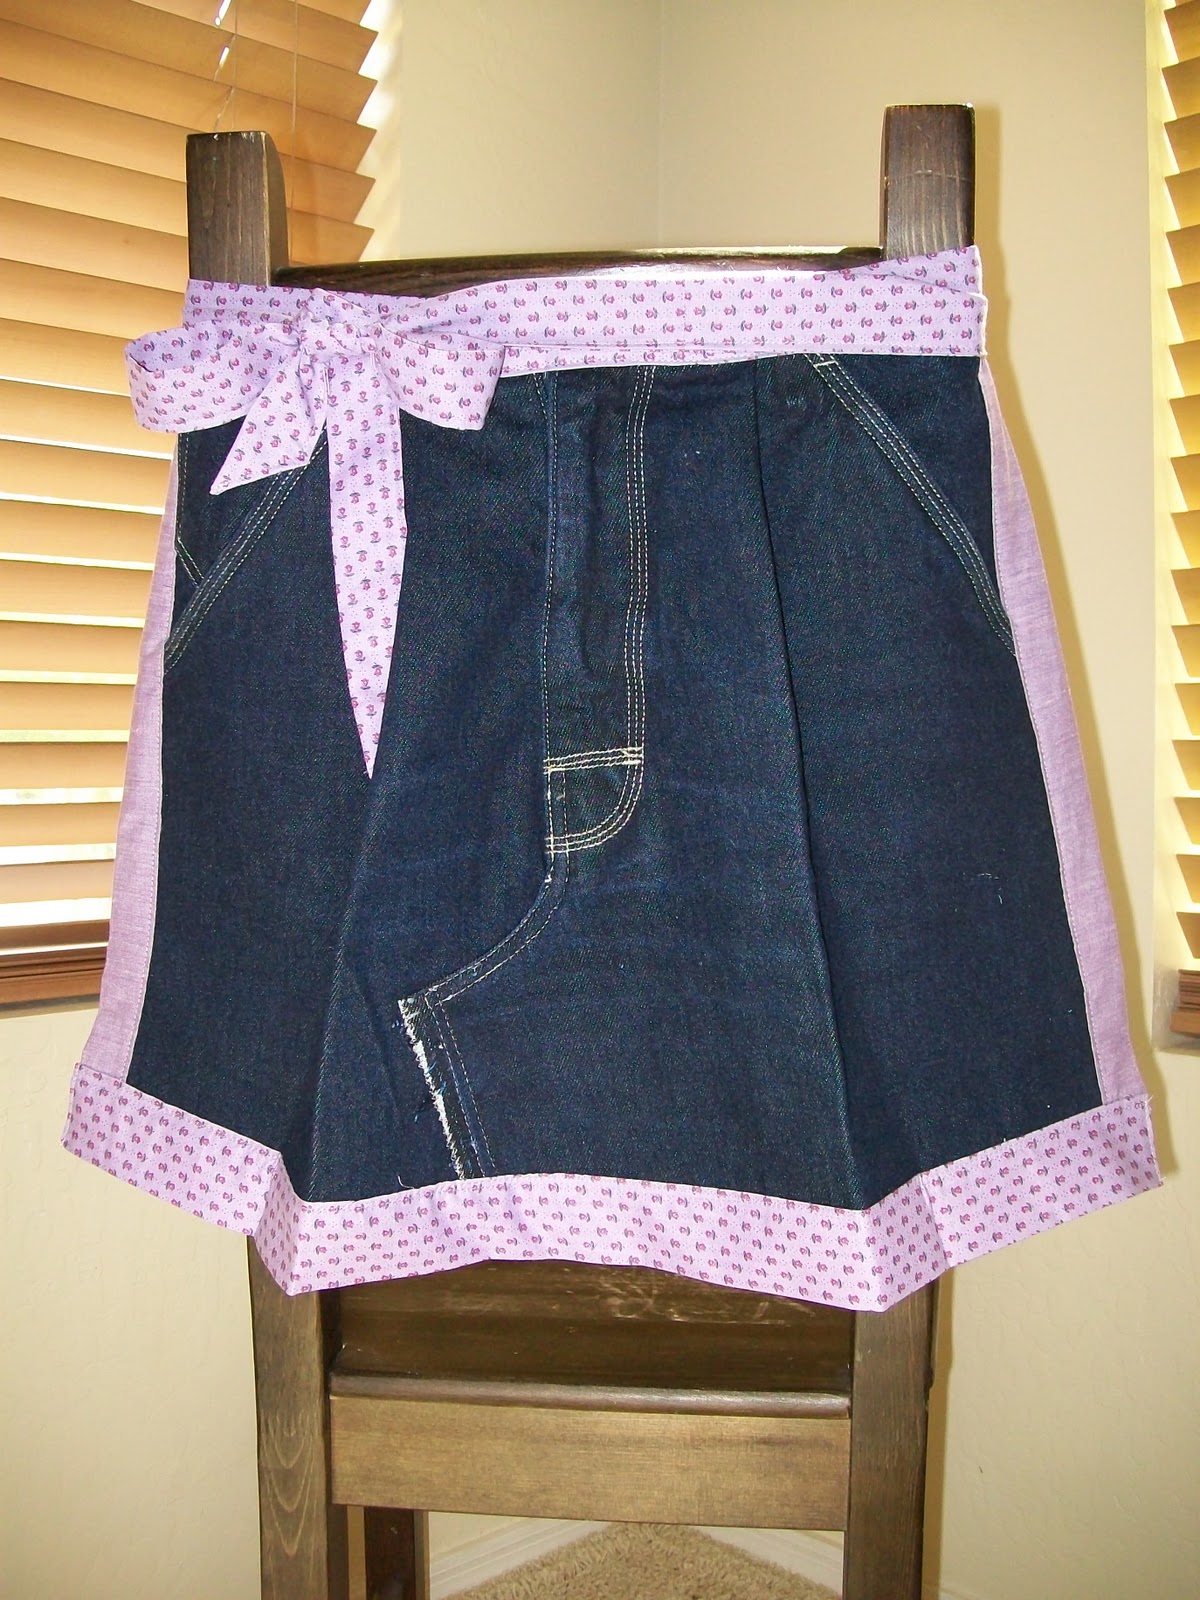
Jeans Apron

Have an old pair of jeans that you dont know what to do with?  Turn them into a super cute apron! 
Then use the back pockets to make the pocket purses!

Friday, April 1, 2011

Burlap Signs


I want to add a disclaimer that I originally found this idea on another blog.  I love how it turned out though, super cute!  I also made ones for Kitchen, and Laundry.

Did you know that you can print on burlap?  This entire project cost me $9 including the frame.  You iron freezer paper onto the burlap, cut it to 8 1/2 x 11 and put it through your printer.  Take off the freezer paper, mod podge (just use a little bit) onto a piece of foam core board.  Use decorative tacks for the corners.  Make some flowers out of scraps of fabric, sew on buttons and/or jems and hot glue them to the board.

I love this - it's my new favorite craft, so family beware, you will probably all get one for Christmas!

Pocket Purse


I love these and almost every one of my friend's daughters now have one.  Just take a pair of old jeans, cut out the pockets, add some ribbon, flowers, and some jems, and you have yourself an adorable little purse.  I like to stuff them with chapstick, nail polish, bracelets, etc. and you have a super cute, easy, affordable gift. 

Mod Podge Letter


Super easy and inexpensive craft.  Just get a paper mache letter from your local craft store, rip up some scrapbook paper and mod podge it onto the letter.  I mod podge the entire letter before I start and I put a coat of mod podge on after I'm finished to seal it (I am partial to the matte finish).  Then get the velcro Command Strips to mount it to the wall or put it on a shelf.

Scrapbook Photo Frames


My adorable girls!